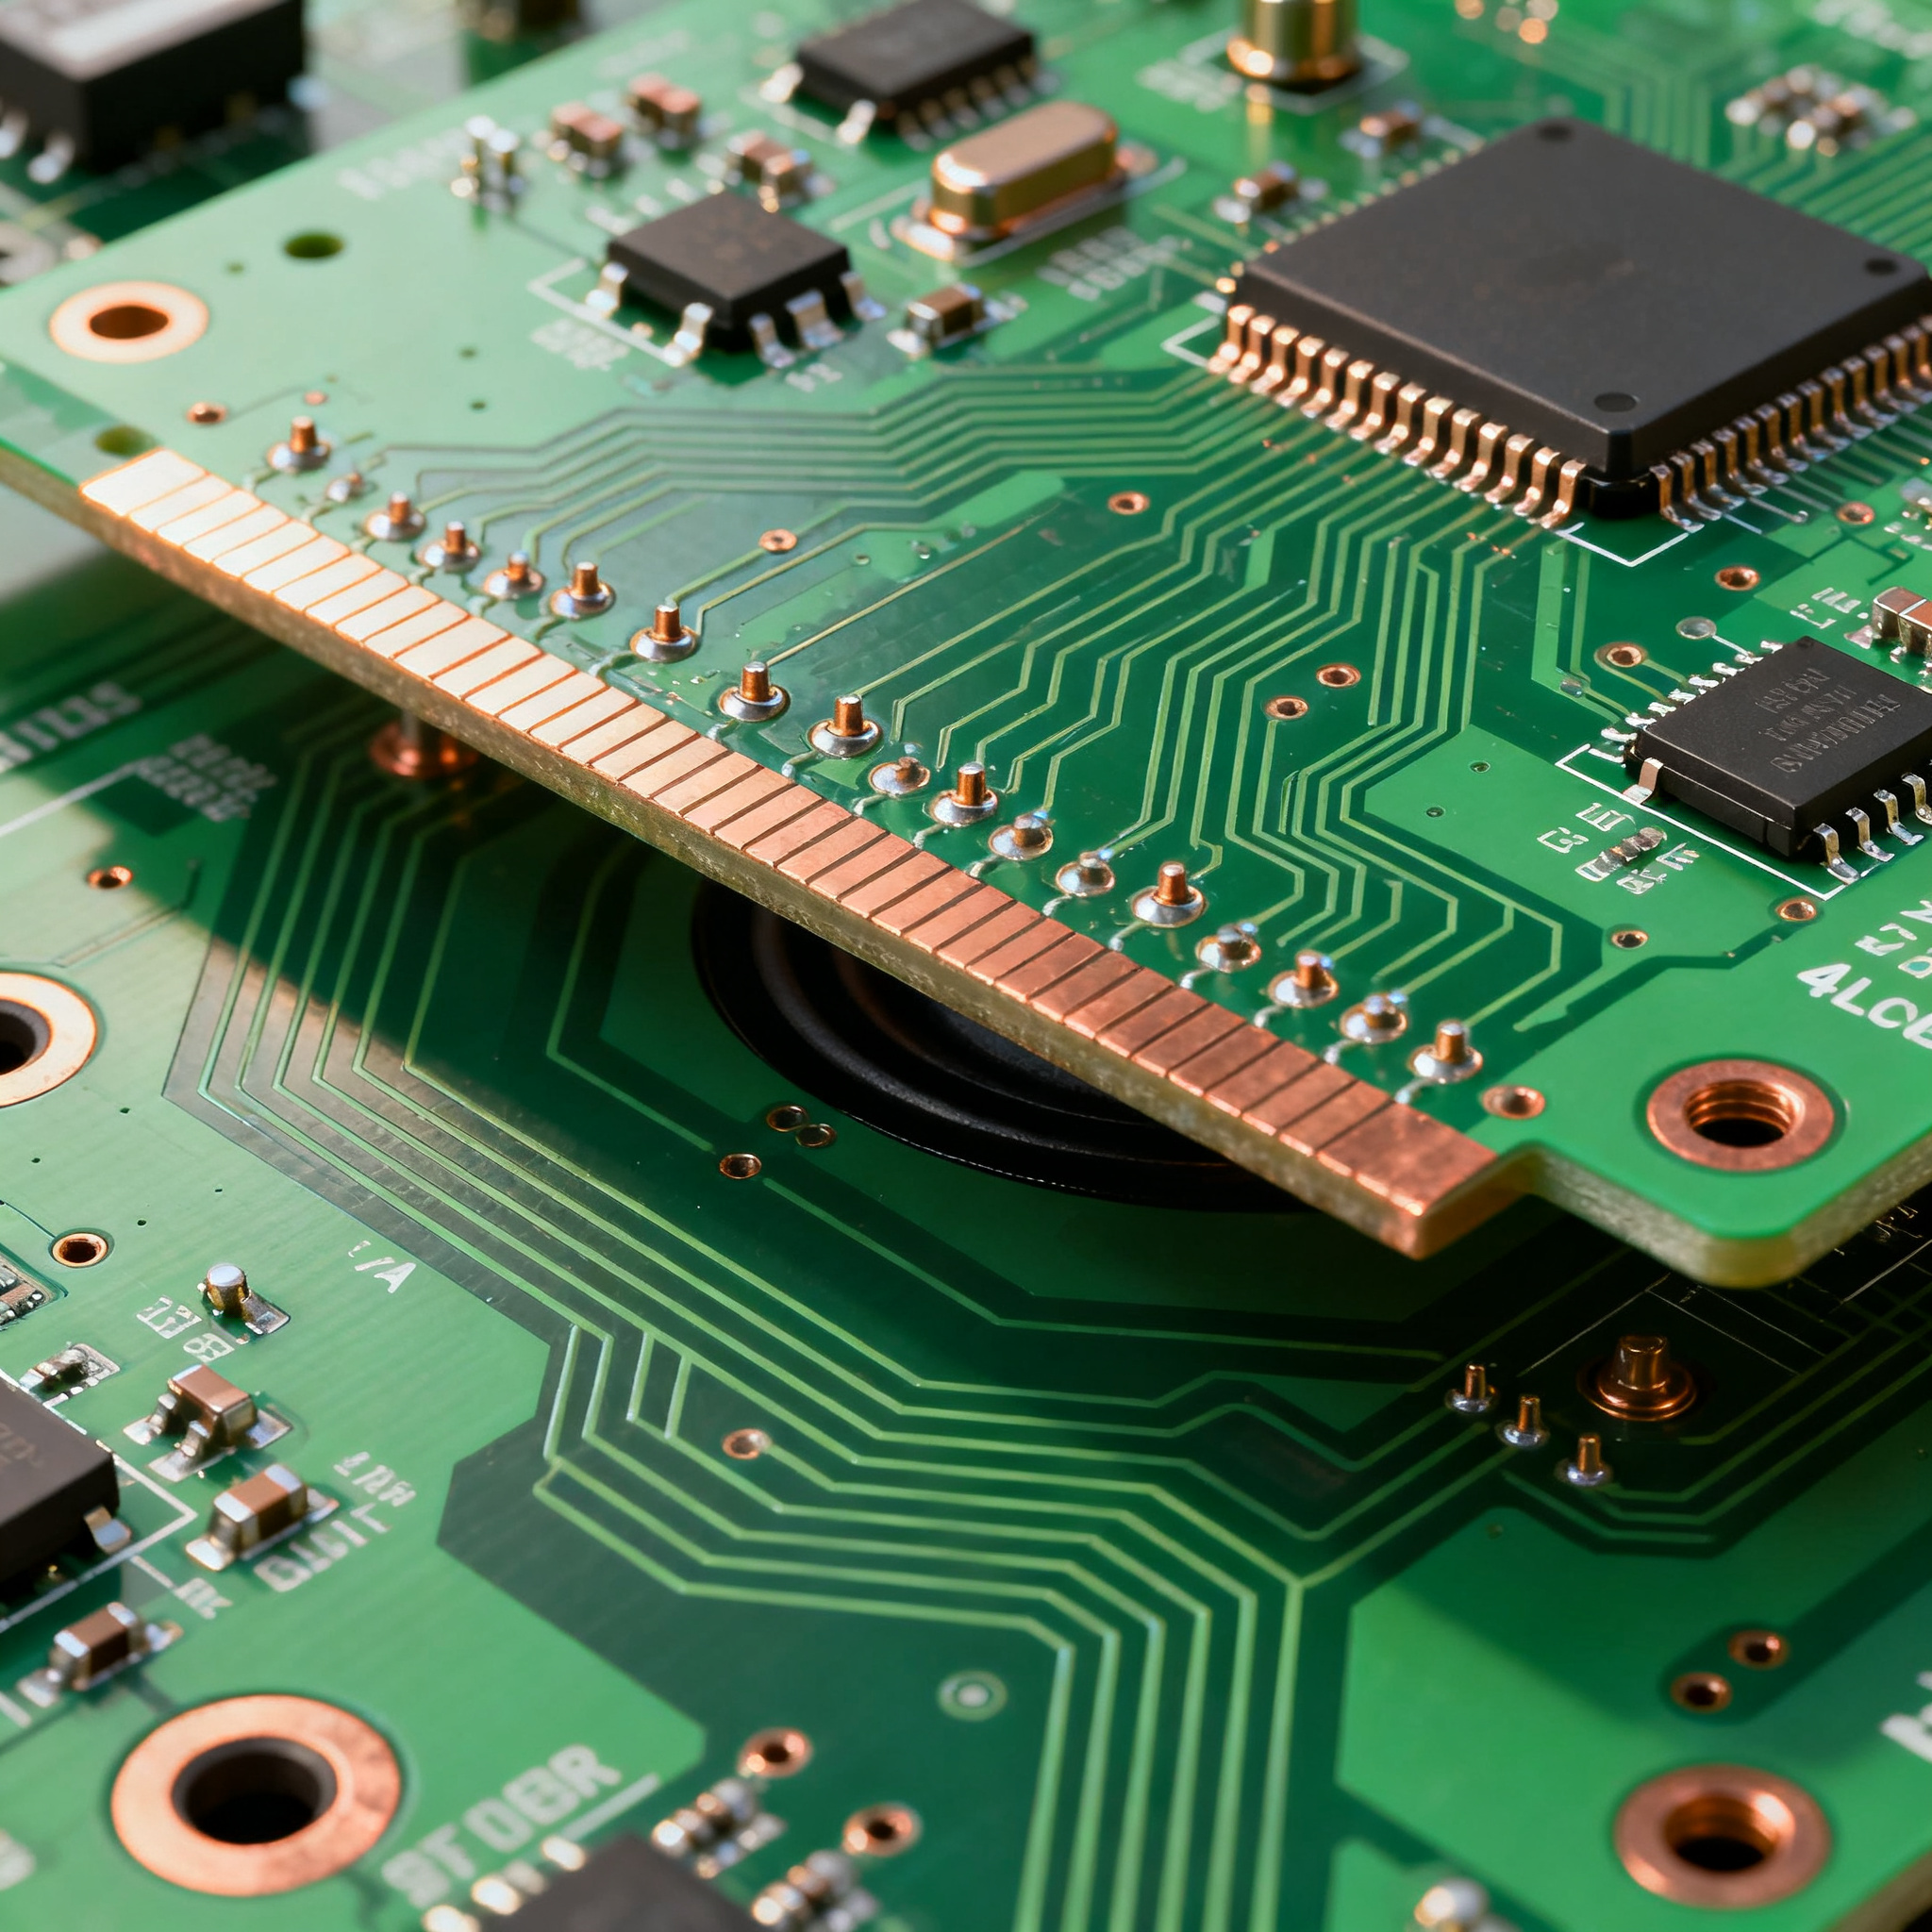
How to Design a 4-Layer High-Fidelity Speaker PCB: A Step-by-Step Tutorial
Why High-Fidelity Audio Demands a 4-Layer PCB (and What Can Go Wrong) High-fidelity speaker circuits live and die by their noise floor. A well-designed amplifier board can deliver a silent background ...
Why High-Fidelity Audio Demands a 4-Layer PCB (and What Can Go Wrong)
High-fidelity speaker circuits live and die by their noise floor. A well-designed amplifier board can deliver a silent background at 100 dB SNR; a poorly laid-out one hums at 60 Hz, crackles with every digital transient, and collapses the soundstage into a muddy mono smear. The difference often comes down to one decision made early in the design cycle: whether you commit to a 4-layer stackup or try to squeeze everything onto two layers.
Audio engineers have learned the hard way that single-ended analog traces running alongside high-current speaker return paths on a 2-layer board create magnetic coupling loops that no amount of shielding can fix after the fact. Ground bounce—where the return current from a Class-D output stage modulates the reference plane for the input stage—introduces distortion that measurement microphones pick up instantly. These aren't theoretical concerns; they show up as audible artifacts that ruin listening tests and send boards back for respin.
The prototyping phase is where undisciplined 4-layer designs reveal their weaknesses. According to NovaPCBA's guide on mastering 4-layer PCB prototypes, common defects include solder bridging, misalignment, and via issues—problems that compound when designers rush through stackup planning without accounting for the thermal demands of audio power stages. A via placed too close to a pad wicks solder away during reflow; a ground plane split in the wrong location turns a clean audio path into an antenna. These failures are preventable, but only if you follow a structured design flow from the start.
JHYPCB's 4-layer PCB design guidelines reinforce this point: stackup planning, power distribution, EMI control, and DFM checks are not optional steps—they are the foundation of a board that transitions smoothly from prototype to mass production. When you skip them, you get the kind of intermittent faults that drive up field return rates and erode brand reputation in the competitive audio market.
The MorePCB step-by-step 4-layer design guide emphasizes that a disciplined layer assignment—signal, ground, power, signal—gives you a repeatable template that works across amplifier topologies, from single-ended Class-A to high-power Class-D. Without it, every new design becomes a gamble. And as NovaPCBA's fabrication process guide notes, adhering to IPC standards for design and assembly minimizes the defects that plague rushed prototypes. The message is consistent across the industry: a 4-layer board designed with intention outperforms a 2-layer board every time—but only if you respect the physics.
The 4-Layer Stackup That Keeps Your Signal Clean and Noise Floor Low
The classic signal-ground-power-signal (S-G-P-S) stackup is the workhorse of audio PCB design for a reason: it sandwiches every signal trace between a solid copper reference plane and free space, giving you controlled impedance on both outer layers while keeping the power distribution network (PDN) tightly coupled to ground. For a 1.6 mm finished board thickness—the industry default for compatibility with enclosures, connectors, and mounting hardware—this stackup delivers a sweet spot of mechanical rigidity, thermal mass, and electrical performance.
Why does this matter for audio specifically? Low-frequency analog signals—your 20 Hz to 20 kHz band—don't need impedance control in the RF sense, but they do need a low-impedance return path that doesn't share copper with noisy digital or switching nodes. A continuous ground plane on layer 2 provides exactly that: every return current flows directly beneath its source trace, minimizing loop area and the associated magnetic pickup. Meanwhile, the power plane on layer 3, tightly coupled to ground through a thin core dielectric, forms a distributed capacitor that damps supply ripple before it reaches your amplifier's PSRR-limited input stage.
Material selection is equally critical. Standard FR4 with a glass transition temperature (Tg) of 130–140°C works for most consumer audio, but if you're designing a high-power speaker amplifier that runs warm—think Class-AB output stages dissipating 10 W or more—you'll want a mid-Tg or high-Tg FR4 variant. The ApolloPCB FR4 material specification sheet provides detailed thermal and dielectric data that helps you select the right laminate for your operating temperature range. Dielectric constant (Dk) stability with frequency and temperature directly affects how consistently your board performs across the audio band and into the ultrasonic region where Class-D switching harmonics live.
The table below gives you a repeatable starting point for a 1.6 mm, 4-layer audio stackup. Adjust trace widths based on your fabricator's specific Dk values and your target impedance.
| Layer | Material / Function | Thickness (mm) | Copper Weight | Dk (Typical) | 50 Ω Trace Width (mil) | 100 Ω Diff. Pair (mil) |
|---|---|---|---|---|---|---|
| L1 (Top) | Signal – Analog & Low-Speed Digital | 0.035 | 1 oz | — | 14–16 | 8 / 8 (space) |
| Prepreg | FR4 Prepreg (2116 or 7628) | 0.18–0.22 | — | 4.0–4.2 | — | — |
| L2 (Inner) | Solid Ground Plane | 0.035 | 1 oz | — | — | — |
| Core | FR4 Core Laminate | 0.90–1.00 | — | 4.5–4.7 | — | — |
| L3 (Inner) | Power Plane (Split as Needed) | 0.035 | 1 oz | — | — | — |
| Prepreg | FR4 Prepreg (2116 or 7628) | 0.18–0.22 | — | 4.0–4.2 | — | — |
| L4 (Bottom) | Signal – High-Current Outputs & Routing | 0.035 | 1 oz | — | 14–16 | 8 / 8 (space) |
Tip: If your design includes a Class-D amplifier with switching frequencies above 400 kHz, ask your fabricator about using a prepreg with a flatter Dk-vs-frequency curve. The difference in trace impedance at 20 kHz versus 2 MHz can affect EMI performance at the speaker terminals. Also, for high-current output stages, consider specifying 2 oz copper on L4 to reduce I²R losses—just be aware that thicker copper increases minimum trace/space rules and may affect impedance targets on that layer.
The Arshon Inc. complete 4-layer PCB guide reinforces that stackup planning is the single highest-leverage decision in the design process. Get this right, and your layout has a solid electrical foundation. Get it wrong, and you'll spend weeks debugging noise problems that no amount of shielding can fix.
2-Layer vs. 4-Layer Speaker PCBs: When the Extra Layers Pay Off
Not every speaker PCB needs four layers. A simple single-chip amplifier driving a bookshelf speaker at 10 W can work perfectly well on two layers—if you're disciplined about ground routing and keep the layout compact. But as soon as you add a DAC, a Bluetooth module, a DSP, or multiple amplifier channels, the 2-layer approach starts to buckle under the weight of competing routing demands. The question isn't "is 4-layer better?" but rather "at what point does the performance gap justify the cost delta?"
The table below breaks down the key decision factors based on real-world audio design scenarios, drawing on pricing data and technical insights from multiple fabricators and design guides.
| Comparison Metric | 2-Layer Speaker PCB | 4-Layer Speaker PCB | Selection Criteria & Failure Boundary |
|---|---|---|---|
| Prototype Cost (1–10 pcs) | $20–60 per board | $50–200 per board (HilPCB audio pricing) | Choose 2L if BOM cost dominates and audio path is simple; 4L if respin risk exceeds cost delta |
| Ground Impedance | High — fragmented return paths create ground loops and hum | Low — continuous plane provides < 1 mΩ return path | Audible 50/60 Hz hum on 2L boards with mixed-signal content; 4L eliminates this at the stackup level |
| EMI Control | Poor — large loop areas radiate and receive noise | Excellent — tight plane coupling contains fields | Class-D switching noise couples into analog inputs on 2L; 4L keeps these domains isolated |
| Layout Complexity | High for mixed-signal — every trace competes for space | Moderate — dedicated planes free up routing layers | DSP + amplifier + Bluetooth on 2L often requires jumper wires; 4L handles it cleanly |
| Thermal Performance | Adequate for < 5 W dissipation | Better — inner planes spread heat laterally | Amplifiers dissipating > 5 W benefit from 4L thermal spreading; 2L may require heatsinks |
| Production Cost Gap | Baseline | Narrowing — some overseas manufacturers offer 4L prototypes near 2L pricing (PCBSync cost analysis) | At 500+ units, the per-board premium for 4L shrinks to $2–5; evaluate total cost of ownership including field returns |
The cost gap between 2-layer and 4-layer boards has narrowed significantly. PCBSync's analysis confirms that overseas manufacturers now offer 4-layer prototypes at prices approaching 2-layer boards, albeit with slightly longer lead times. The additional materials—two more copper layers, prepreg, and core—plus the extra processing steps of inner layer imaging and lamination do add cost, but for audio applications where signal integrity directly impacts the user experience, the premium is almost always justified.
Arshon's 4-layer guide makes the case clearly: higher-quality specifications like tighter tolerances and better high-frequency performance drive costs up, but the cost is justified when signal integrity and EMI control are non-negotiable. For a high-fidelity speaker board, those two factors are the entire value proposition.
The PCBway amplifier layout guide adds another dimension: optimized system structure for Class-D audio often requires four to six layers to separate the sensitive analog front-end from the high-current switching output stage. When your amplifier's PSRR is 60 dB and your switching node swings 30 V in 10 ns, a 2-layer board simply cannot provide the isolation you need. The extra layers aren't a luxury—they're a requirement for meeting the datasheet THD+N specifications.
Layout Rules for Low-Distortion Audio: From Grounding to Via Placement
Once your stackup is locked in, the layout phase determines whether your board meets its audio performance targets or falls short. High-fidelity speaker PCBs demand a different approach than digital boards: you're managing microvolt-level input signals alongside ampere-level output currents on the same substrate, often with switching noise from Class-D modulators thrown into the mix. The following rules come from years of debugging audio boards that looked fine on screen but sounded wrong on the test bench.
Star Grounding, Adapted for Planes. Traditional star grounding—where every subsystem returns to a single point—works beautifully on paper but is difficult to implement on a 4-layer board with a continuous ground plane. The practical compromise is to use a single, unsplit ground plane on layer 2 for the entire board, but physically partition your layout so that noisy return currents (from the output stage and power supply) flow in a different region of the plane than sensitive returns (from the input stage and gain-setting network). The plane's low DC resistance keeps voltage gradients small, but you still need to keep high di/dt paths away from high-impedance nodes.
Split the Power Plane, Not the Ground Plane. If your design mixes analog and digital supplies—say, ±15 V analog rails and a 3.3 V digital rail for a DAC—split the power plane on layer 3 into separate polygons, each decoupled to the common ground plane. Never split the ground plane itself; a continuous ground reference is what keeps your noise floor low. The APTPCB PA speaker PCB guide emphasizes that vibration and thermal stress can exacerbate the effects of poor grounding, so mechanical robustness and electrical integrity go hand in hand.
Minimize Loop Area Relentlessly. Every signal trace and its return current form a loop. The magnetic field radiated by that loop—and its susceptibility to external fields—scales with loop area. On a 4-layer board with a solid ground plane on layer 2, top-layer traces have their return path directly beneath them, keeping the loop area small by default. But the moment you route a trace on the bottom layer (layer 4), its return current has to find a path through the power plane or through stitching vias to the ground plane. Place a ground via near every layer transition to give the return current a low-impedance path.
Feedback Components: Short and Tight. The feedback network that sets your amplifier's gain is the most sensitive node on the board. Route the feedback resistor and capacitor as close to the amplifier's inverting input pin as physically possible—ideally within 2–3 mm. Keep the feedback trace on the top layer, directly over the ground plane, and don't run it parallel to any high-current or switching traces. A few millimeters of extra trace length here can add enough parasitic inductance to cause peaking in the closed-loop response, which shows up as ringing on square waves and harshness in the treble.
Via Stitching for Thermal and EMI. Around the perimeter of your board and along the edges of any internal plane splits, place a ring of ground vias spaced 2–5 mm apart. This via fence contains fringe fields and reduces board-edge radiation—important for passing EMI compliance tests. For amplifier ICs with exposed thermal pads, use an array of thermal vias (typically 0.3 mm diameter, 0.8 mm pitch) to conduct heat into the ground plane. The MorePCB 4-layer tutorial walks through the layout sequencing that ensures these vias don't interfere with nearby routing.
The table below summarizes the critical layout parameters for a typical high-fidelity speaker PCB, giving you a checklist to validate against before tape-out.
| Layout Parameter | Recommended Value | Rationale / Trade-Off |
|---|---|---|
| Analog trace width (small-signal) | 8–12 mil | Low capacitance; easy to route between pins |
| High-current output trace width (1 oz Cu, 3 A RMS) | 50–80 mil | Based on IPC-2152; 10°C rise; wider = lower I²R loss |
| High-current output trace width (2 oz Cu, 5 A RMS) | 60–100 mil | Thicker copper reduces width requirement; verify with fabricator's etch capabilities |
| Trace-to-trace spacing (analog to digital) | ≥ 20 mil | Minimizes capacitive crosstalk; 3× the minimum DRC rule |
| Ground via spacing (stitching fence) | 2–5 mm | λ/20 at 1 GHz for EMI containment; tighter spacing = better shielding |
| Thermal via diameter / pitch | 0.3 mm / 0.8 mm | Standard for exposed pad amplifiers; confirm with assembly house |
| Feedback trace length (from amplifier pin) | ≤ 3 mm | Minimizes parasitic inductance; critical for stability |
| Annular ring (outer layers) | ≥ 5 mil | Prevents breakout during drilling; exceeds IPC Class 2 minimum |
| Solder mask clearance | 2–3 mil per side | Prevents solder bridging on fine-pitch amplifier pins |
Note: These values assume a fabricator with modern equipment and standard process controls. Always request your fabricator's capabilities file and run a DRC against it before finalizing the layout. The solder bridging and via defects highlighted in NovaPCBA's prototype guide are almost always traceable to annular ring violations or insufficient solder mask clearance—both of which a proper DRC catches before fabrication begins.
Questions Audio Engineers Ask Before Sending a 4-Layer Speaker Board to Fab
After years of supporting audio customers through the design-to-production pipeline, certain questions come up repeatedly. Here are the answers that save time, money, and revision spins.
Q: What impedance tolerance is realistic for a 4‑layer speaker PCB without driving up cost?
For audio frequencies (20 Hz to 20 kHz), ±10% impedance tolerance is usually sufficient and keeps fabrication costs low. At these frequencies, trace impedance mismatch contributes negligible phase shift or amplitude ripple to the audio signal. Tighter tolerances (±5%) are achievable but require more expensive materials with tighter Dk control and additional process steps like impedance coupon testing on every panel. These tighter specs are only justified when your board also carries high-speed digital signals—S/PDIF, I²S at high sample rates, or USB audio—where edge rates demand controlled impedance. For the analog audio path alone, ±10% is the pragmatic choice that balances performance and cost.
Q: What minimum trace width and spacing should I use for high‑current speaker outputs?
Use IPC-2152 charts to size traces for the expected RMS current with an acceptable temperature rise—typically 10°C for consumer audio, 20°C for professional equipment that runs hot. For a 4-layer board with 1 oz copper on the outer layers, a 50 mil trace can handle approximately 3–4 A RMS with a 10°C rise. But here's the practical advice: always add solder mask openings over high-current traces to expose the copper, allowing solder to wick during assembly and increase the effective cross-section. For peak currents above 5 A—common in subwoofer amplifiers and professional PA speakers—consider external bus bars or specify 2 oz copper on the output layer. The APTPCB PA speaker guide provides additional guidance on managing high-current paths in audio boards subject to vibration and thermal cycling.
Q: When is via‑in‑pad necessary for audio amplifier thermal pads?
Via-in-pad is recommended when the amplifier IC's exposed thermal pad must dissipate more than 1–2 W continuously. This is common in Class-AB headphone amplifiers running on ±15 V rails and in Class-D amplifiers delivering over 20 W to the load. Via-in-pad requires plugged and capped vias to prevent solder wicking into the via barrel during reflow—a defect that starves the thermal pad of solder and compromises both thermal and electrical connections. This process adds cost: expect a 10–20% premium on the PCB fabrication. For lower-power amplifiers dissipating under 1 W, a solid copper pour on the top layer with thermal vias placed just outside the pad perimeter (connected by short, wide traces) provides adequate heat spreading without the via-in-pad premium.
Q: What are typical lead times for 4‑layer speaker PCB prototypes?
Standard lead times range from 5 to 10 working days for 4-layer prototypes, depending on the fabricator's workload and whether advanced processes like via-in-pad, controlled impedance, or non-standard solder mask colors are required. As PCBSync notes, overseas manufacturers have narrowed the gap significantly, and some now offer 4-layer prototypes at prices approaching 2-layer boards with only slightly longer lead times. If your design requires impedance testing or ENIG surface finish for the audio connectors, add 1–2 days. For time-sensitive projects, many fabricators offer expedited 3–4 day turns at a 30–50% premium. Plan your prototyping schedule around the 10-day standard window and use the expedited option only for the final validation build.
Q: How can I verify DFM before releasing the design to avoid solder bridging and via defects?
Run a design rule check (DRC) using your fabricator's specific capabilities file—not the default rules in your EDA tool. Check annular ring sizes on all vias (minimum 5 mil for outer layers, 4 mil for inner layers on a standard process), solder mask clearances (2–3 mil per side to prevent bridging on fine-pitch amplifier pins), and via aspect ratios (keep below 8:1 for reliable plating). Adhering to IPC standards for design and assembly, as highlighted in NovaPCBA's fabrication process guide, minimizes the defects that derail prototype builds. Many fabricators—including NovaPCBA—offer free DFM reviews as part of the quoting process. Take advantage of this: an experienced CAM engineer can spot potential solder bridging sites, insufficient clearances, and via-in-pad issues that automated DRCs miss. The 30 minutes you spend reviewing their feedback can save you a 2-week respin.
Designing a 4-layer high-fidelity speaker PCB is a discipline, not a mystery. The stackup gives you the electrical foundation; the layout rules keep your noise floor where it belongs; and the DFM checks ensure your board transitions cleanly from CAD to physical reality. When you follow this structured approach, you get a board that measures well on the Audio Precision analyzer and—more importantly—sounds right in the listening room.
At NovaPCBA, we see hundreds of audio PCB designs cross our production floor every quarter. The ones that pass first-article inspection without revision share a common thread: the engineer treated the 4-layer stackup as an integral part of the circuit design, not an afterthought. Whether you're building a 10 W Bluetooth speaker or a 500 W professional PA amplifier, the principles in this tutorial scale. If you're ready to move from prototype to production, our team can review your 4-layer speaker PCB design and provide a DFM assessment that catches the issues discussed here before they become expensive problems.